Gateway Configuration
Effective from version 3.5.1.21 the hardware communications gateway is setup via the License Manager (which you are prompted to run on the host PC following installation of the software). Version 3.5.1.21 automatically installs all supported gateway types. You can then create the gateway if it is enabled in your license.
Creating the Gateway
- Click to highlight the installed gateway service listed within the License Manager.
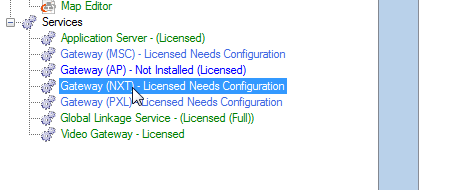
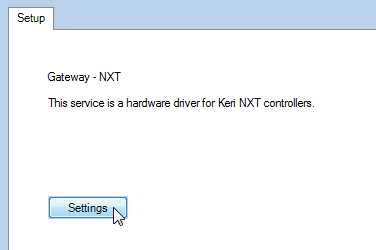
- Click the Settings button.
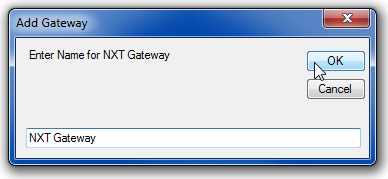
- The Add Gateway window will appear prompting you to enter a name for the gateway.
- Enter the name then click OK.
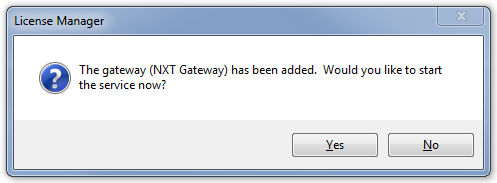
- The gateway will be added to the database. You will then see a prompt to start the gateway service. Click Yes to do this.
- You should see one more notification stating that the service has started. OK this message.
- The gateway service should then be displayed in the License Manager indicating it is both licensed AND configured.
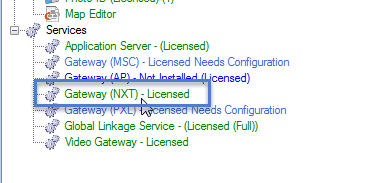
- You can now close the License Manager as the gateway setup is complete.